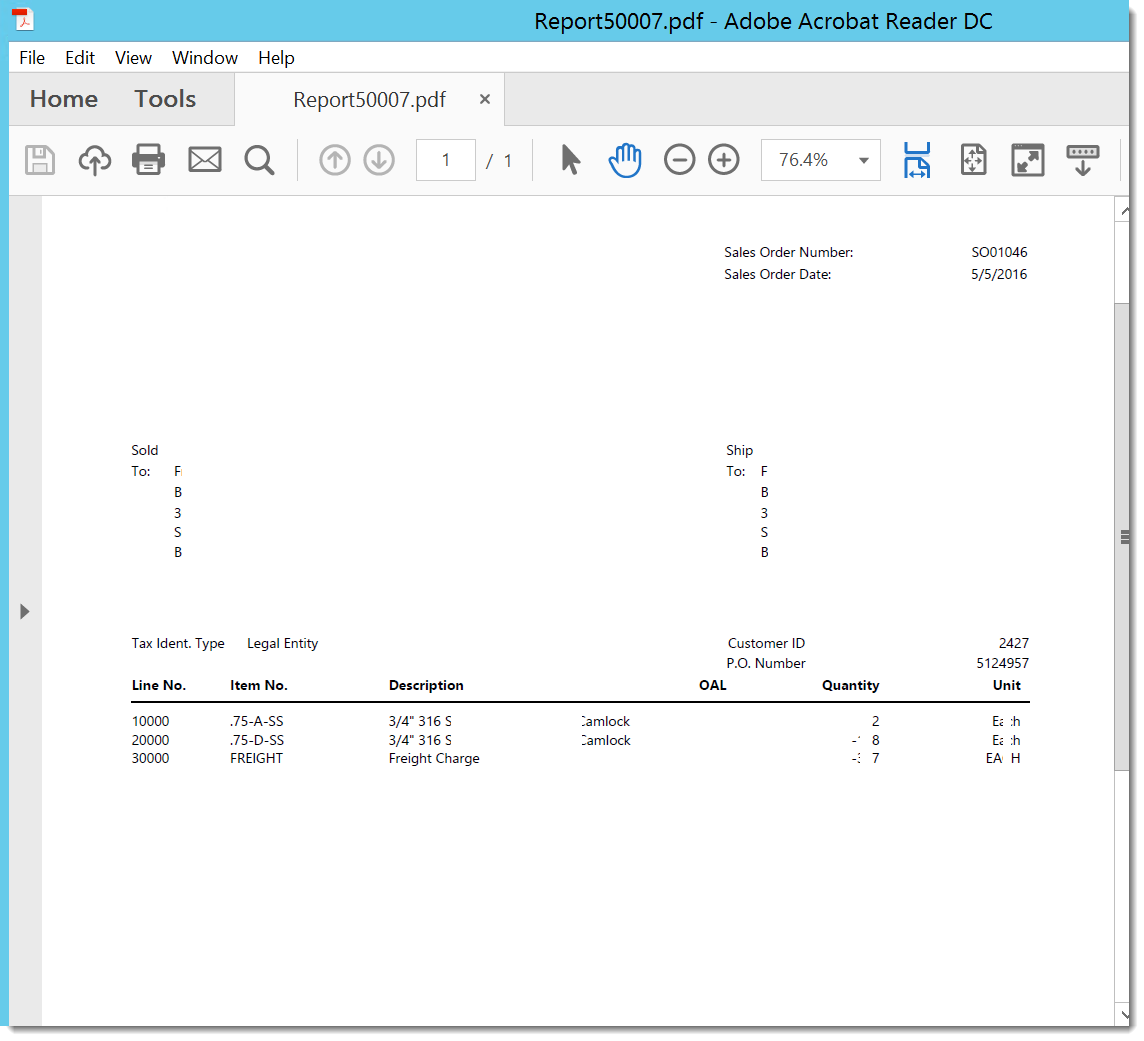
Statement: Save the content of Report to CSV file in a Specific Template.
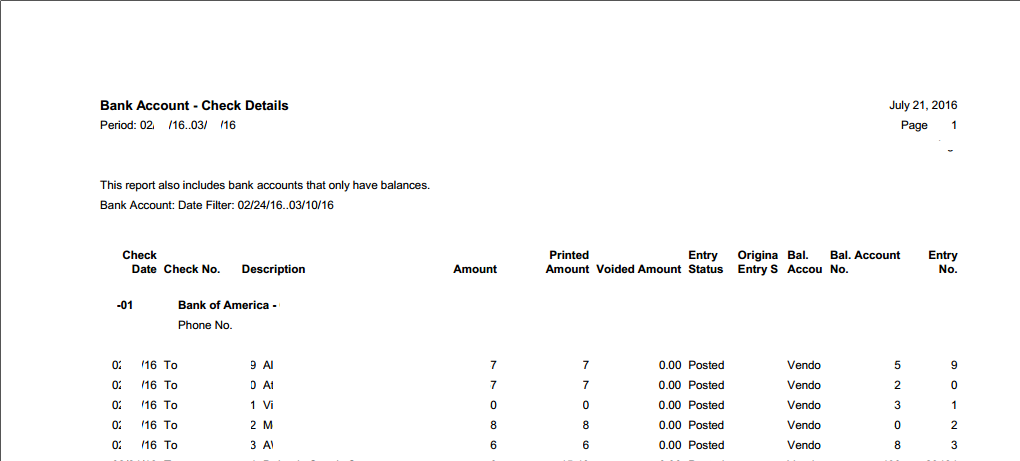
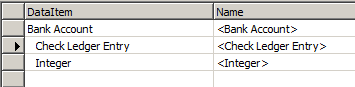
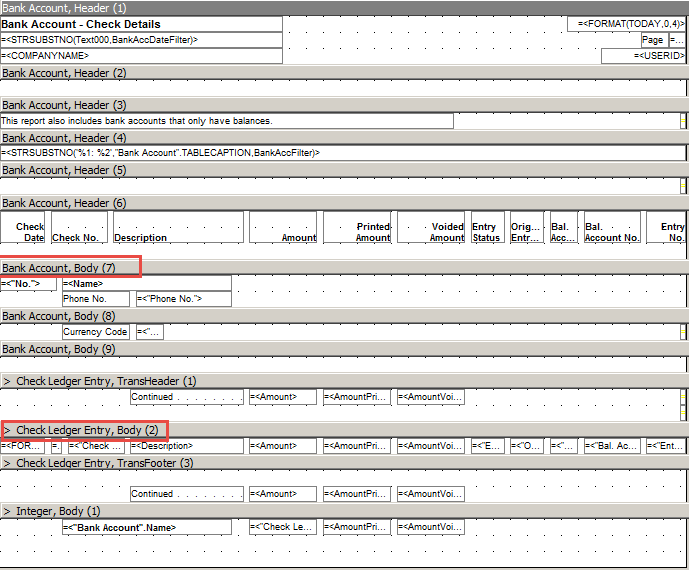
One of our client came of with a requirement to generate a 'Comma Separated Value' Format Data from a report (Bank Account - Check Details).
There are many ways to do this, i used File Method...
Solution:
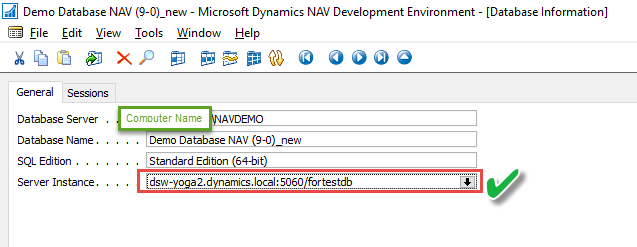
For the sake of this example i am using classic Client. It works sames in RTC as well(up to NAV- 2016 Tested).
//**************************************************************
Global Variables Created
tpath
[Text-100]
tFilename
9 [Text-50]
lfi_ExportFile
[File
]
ltx_Line
[Text-1024]
ltx_CRLF
[Text-30]
ltx_LineHead
[Text-250]
lBankAccount
[Integer]
lCheckLedgerEntry
[Record-Check Ledger Entry]
SalesReceivablesSetup
[Record-Sales & Receivables Setup]
CreateCSVfile
[Boolean]
Total_Amount
[Decimal]
Total_AmountVoided
[Decimal]
Total_AmountPrinted
[Decimal]
//**************************************************************
Bank Account - OnPreDataItem()
CurrReport.NEWPAGEPERRECORD := PrintOnlyOnePerPage;
CurrReport.CREATETOTALS(Amount,AmountPrinted,AmountVoided);
IF ISSERVICETIER THEN
RecordCounter :=0;
//RBN--------------
//For New Line...
ltx_CRLF := '';
ltx_CRLF[1] := 13;
ltx_CRLF[2] := 10;
//For Textmode ON
lfi_ExportFile.TEXTMODE(TRUE);
//For the Location of CSV file
//SalesReceivablesSetup.GET;
IF SalesReceivablesSetup."Check Detail- CSV File Locatio"<>'' THEN
tpath := SalesReceivablesSetup."Check Detail- CSV File Locatio"
ELSE
ERROR(Error Message);
//File Name Format
tFilename := FORMAT(tpath) + 'Check Detail-'+ FORMAT(TODAY,0,'<day,2>-<month,2>-<year,2>') +
FORMAT(TIME, 0, '<hour,2><minute,2><second,2>') +'.' + 'csv';
IF CreateCSVfile= TRUE THEN
lfi_ExportFile.CREATE(tFilename);
//RBN
CurrReport.PRINTONLYIFDETAIL := TRUE;
Integer - OnAfterGetRecord()
IF NOT CheckLedgEntryExists THEN
CurrReport.SKIP;
//RBN
IF CreateCSVfile= TRUE THEN
BEGIN
//For the given format...
ltx_Line := "Bank Account"."No."+ ','+'' +','+''+ ','+ '' +',' + DELCHR(FORMAT(Total_Amount),'=',',') +','
+ DELCHR(FORMAT(Total_AmountPrinted),'=',',') +',' +DELCHR(FORMAT(Total_AmountVoided),'=',',') ;
//Every line will be copied to ltx_Line & get copied to CSV file instead of storing multiple line.
lfi_ExportFile.WRITE(ltx_Line);
END;
//Resetting the Total Values
Total_Amount :=0;
Total_AmountVoided := 0;
Total_AmountPrinted :=0;
//RBN
Report - OnPostReport()
//RBN
IF CreateCSVfile= TRUE THEN
lfi_ExportFile.CLOSE;
//RBN
//**************************************************************
//Code in Report Section
Bank Account, Body (7) - OnPostSection()
IF CreateCSVfile= TRUE THEN BEGIN //Boolean in Request Page...
IF CheckLedger("Bank Account") THEN
lfi_ExportFile.WRITE("Bank Account".Name);
END;
Check Ledger Entry, Body (2) - OnPostSection()
IF CreateCSVfile= TRUE THEN BEGIN
ltx_Line := ''+','+ FORMAT("Check Date") +','+ "Check No." + ','+
DELCHR(Description,'=',',') + ',' + DELCHR(FORMAT(Amount),'=',',') +','
+DELCHR(FORMAT(AmountPrinted),'=',',') +',' + DELCHR(FORMAT(AmountVoided),'=',',') +','
+ FORMAT("Entry Status") +',' +FORMAT("Original Entry Status")+
',' + FORMAT("Bal. Account Type") +',' +FORMAT("Bal. Account No.");
lfi_ExportFile.WRITE(ltx_Line);
//Calculation of Total...
Total_Amount +=Amount;
Total_AmountVoided += AmountVoided;
Total_AmountPrinted += AmountPrinted;
END;
//---------
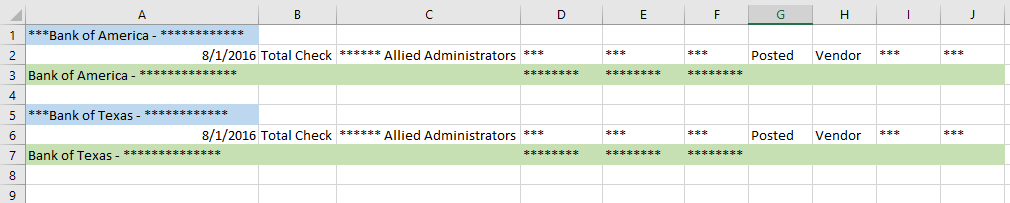
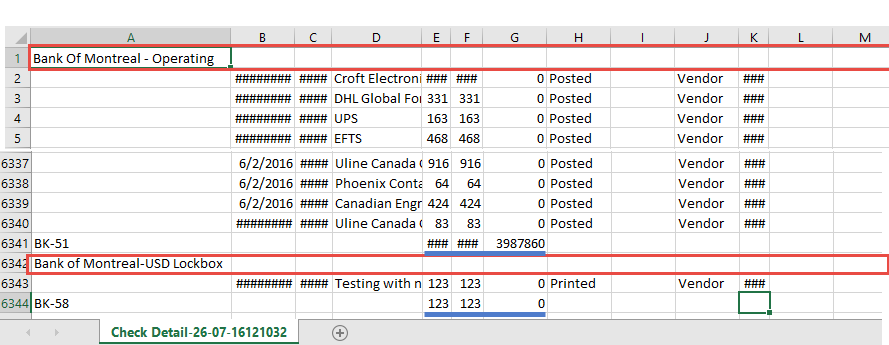
Output...
Note: If you want to try the same in RTC report then Use the code of Section in Dataset... It works absolutely fine in RTC as well... I tested it in 2013, 2015 and 2016 as well...
#goodluck